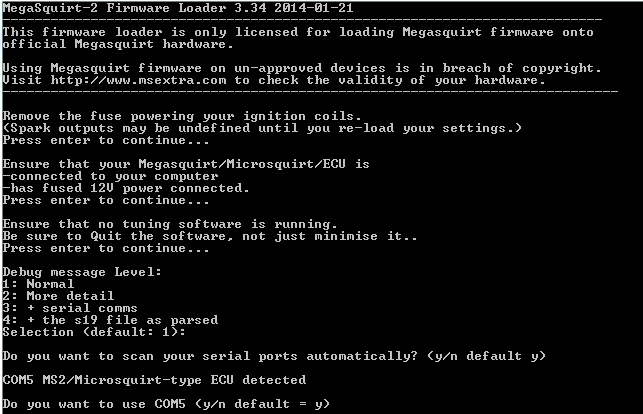
***Firmware 3.4.3 Beta2 and above is required !***
Quick workaround was switching between PA0 and ALED outputs, using PA0 for EBC and ALED for fans.
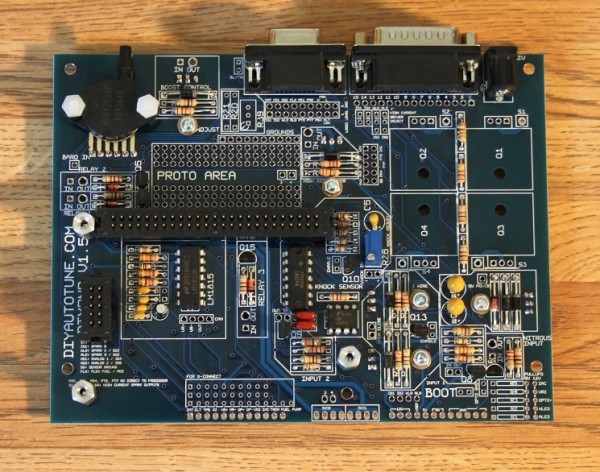
PA0 must go to "Boost Control" circuit.
PA0 -->Boost IN
Boost Out---> EBC pin
After we updated the ECU FW in order to get all the outputs available, we can now finish the wiring, test the EBC and tune it.
First we need to decide what output we want to use from the ECU, for me ALED was good, straight wiring - as simple as that.
OK then, we need a wire from the cars loom to get all the way to ALED and then set TS to use ALED - simple.
A nice clean way is to use the extra wires from the MAF, on the 1.8L NA the MAF connector use five wires, two of them is the IAT(Intake Air Temp) sensor, we got the GM open element connected there, so we have three wires left, one of them is ground, one is +12V and the one left can be used to connect the EBC to the ECU.
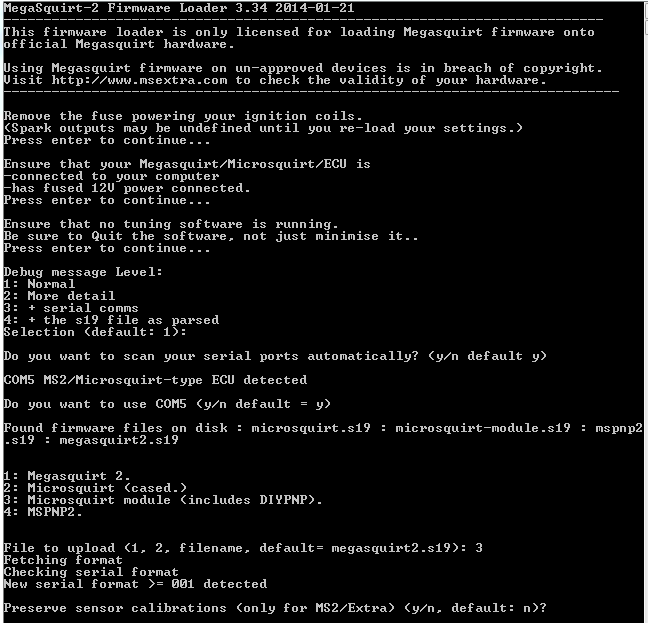
The picture is from Brainwerks MS3 Installtion guide.

1B(on96) = 4B(on97) = +12V
2O(on96) = 3B(on97) = MAF Sensor = will be used for EBC
EBC-->4B&3B
On DIYPNP board: 3B-->ALED
***Firmware 3.4.3 Beta2 and above is required !***
PA0 must go to "Boost Control" circuit.
PA0 -->Boost IN
Boost Out---> EBC pin
That is it ! all connected !
About the EBC itself, you can get a solenoid from ebay for as low as 25$,
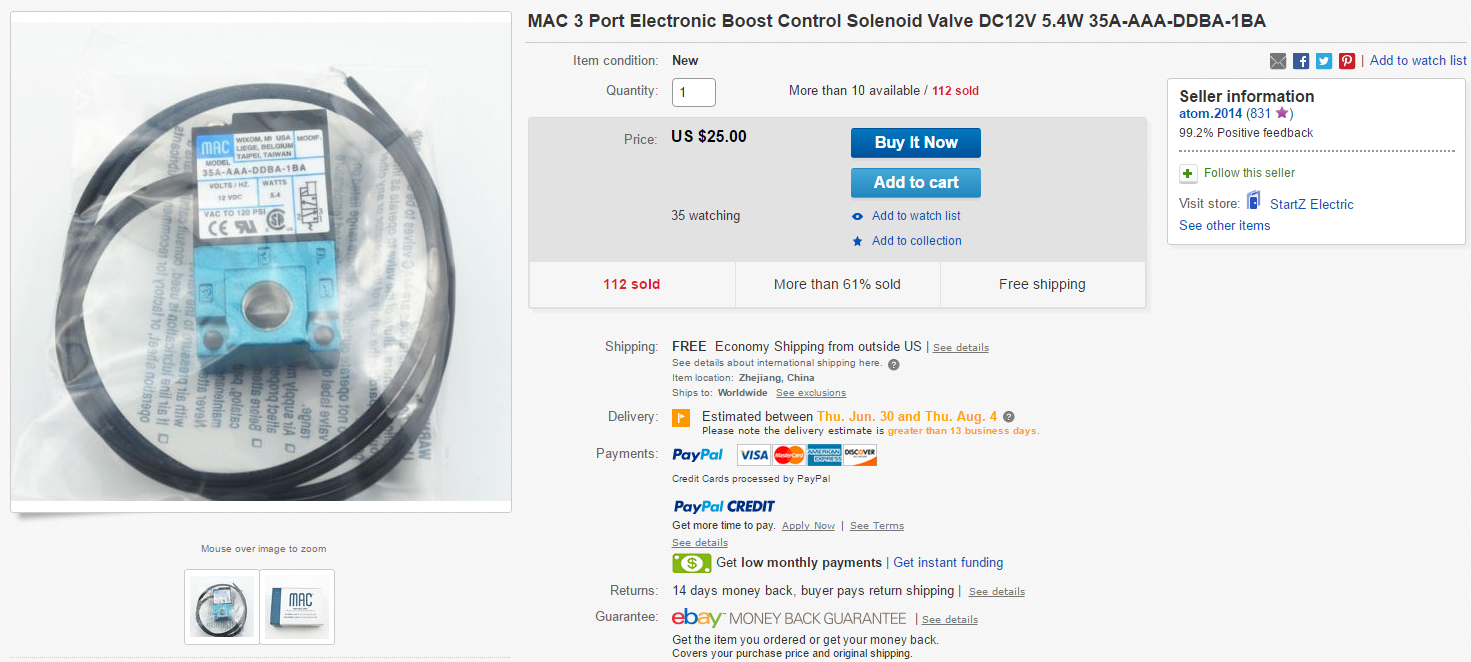
PN: 35A-AAA-DDBA-1
You should get it with hose barbs.
Connect the EBC between your boost source: the compressor housing or before the throttle (best) and to your wastgate actuator.
Before throttle ---->MAC Port 1
Mac Port 2 ---->Wastgate actuator
Now after the EBC is connected to the ECU via 3B pin (to ALED) we can test it via TS outputs test mode.
Click on "CAN bus/Testmodes" button (upper left), when you are online with the ECU click "Enable Test Mode", set "Pulse Frequency" to 26Hz and then click on "Pulsed" under ALED, if all is good you should hear the EBC clicking.
Click "Disable Test Mode" and lets go tune this SOB !